Sticky headers are a really popular way of keeping your header navigation visible and accessible while users scroll down the page. While WordPress has a sticky position feature for group blocks, mysteriously, it doesn’t work if you try to use it for your header.
If you’ve ever tried to create a sticky header in WordPress’s site editor only to watch it stubbornly refuse to stick to the top of the page, you’re not alone! This little quirk has stumped many WordPress users who apply the sticky position setting to their header block—yet see no results when they scroll down the page.
What’s going on here?
The culprit behind this common problem isn’t your CSS skills or a bug in WordPress itself, per se. Instead, it’s an architectural quirk of how the site editor handles template parts.
When you create your header using the Header template part (which is the recommended approach), WordPress automatically wraps your header content in an additional container element. This means your sticky positioning is being applied to the wrong element.
<header class="wp-block-template-part">
	<div class="site-header is-position-sticky">
		<!-- Your header content here -->
	</div>
</header>Code language: HTML, XML (xml)
This unexpected wrapper causes the sticky positioning to fail. Instead, we need a way to apply that sticky styling to the <header> container element.
Fix it with a little CSS
Luckily, there is a pretty straightforward fix we can apply to make the template part container stick as expected. The answer, is using a little CSS with the very handy :has selector.
Check out the CSS snippet below:
header:has(>.is-position-sticky) {
	position: sticky;
	top: calc( 0px + var( --wp-admin--admin-bar--height, 0px ) );
	z-index: 100;
}Code language: CSS (css)
We’re using the :has selector to detect if there is a .is-position-sticky class inside of the header element. If there is, we apply the sticky styling to the Header container. Pretty clever!
And what about the top positioning, what’s going on there? We’re using a readily-available variable to determine the height of the admin bar for logged in users. We offset the sticky position so that the header sits nicely below the admin bar.
You could even take a it a little further and add some additional styling for when the admin bar unsticks at 600px. This would ensure your sticky header is always stuck to the right position, no matter the screen size.
header:has(>.is-position-sticky) {
	position: sticky;
	top: calc( 0px + var( --wp-admin--admin-bar--height, 0px ) );
	z-index: 100;
}

@media (max-width: 600px) {
	header:has(>.is-position-sticky) {
		top: 0;
	}
}Code language: CSS (css)
You can add this to your site via the Additional CSS panel in global styles. See the video below for an example of how to do that.
Now available in Ollie
We’ve just rolled out this sticky header improvement to the Ollie theme, so if you are using Ollie, you don’t need to do anything (except update the theme).
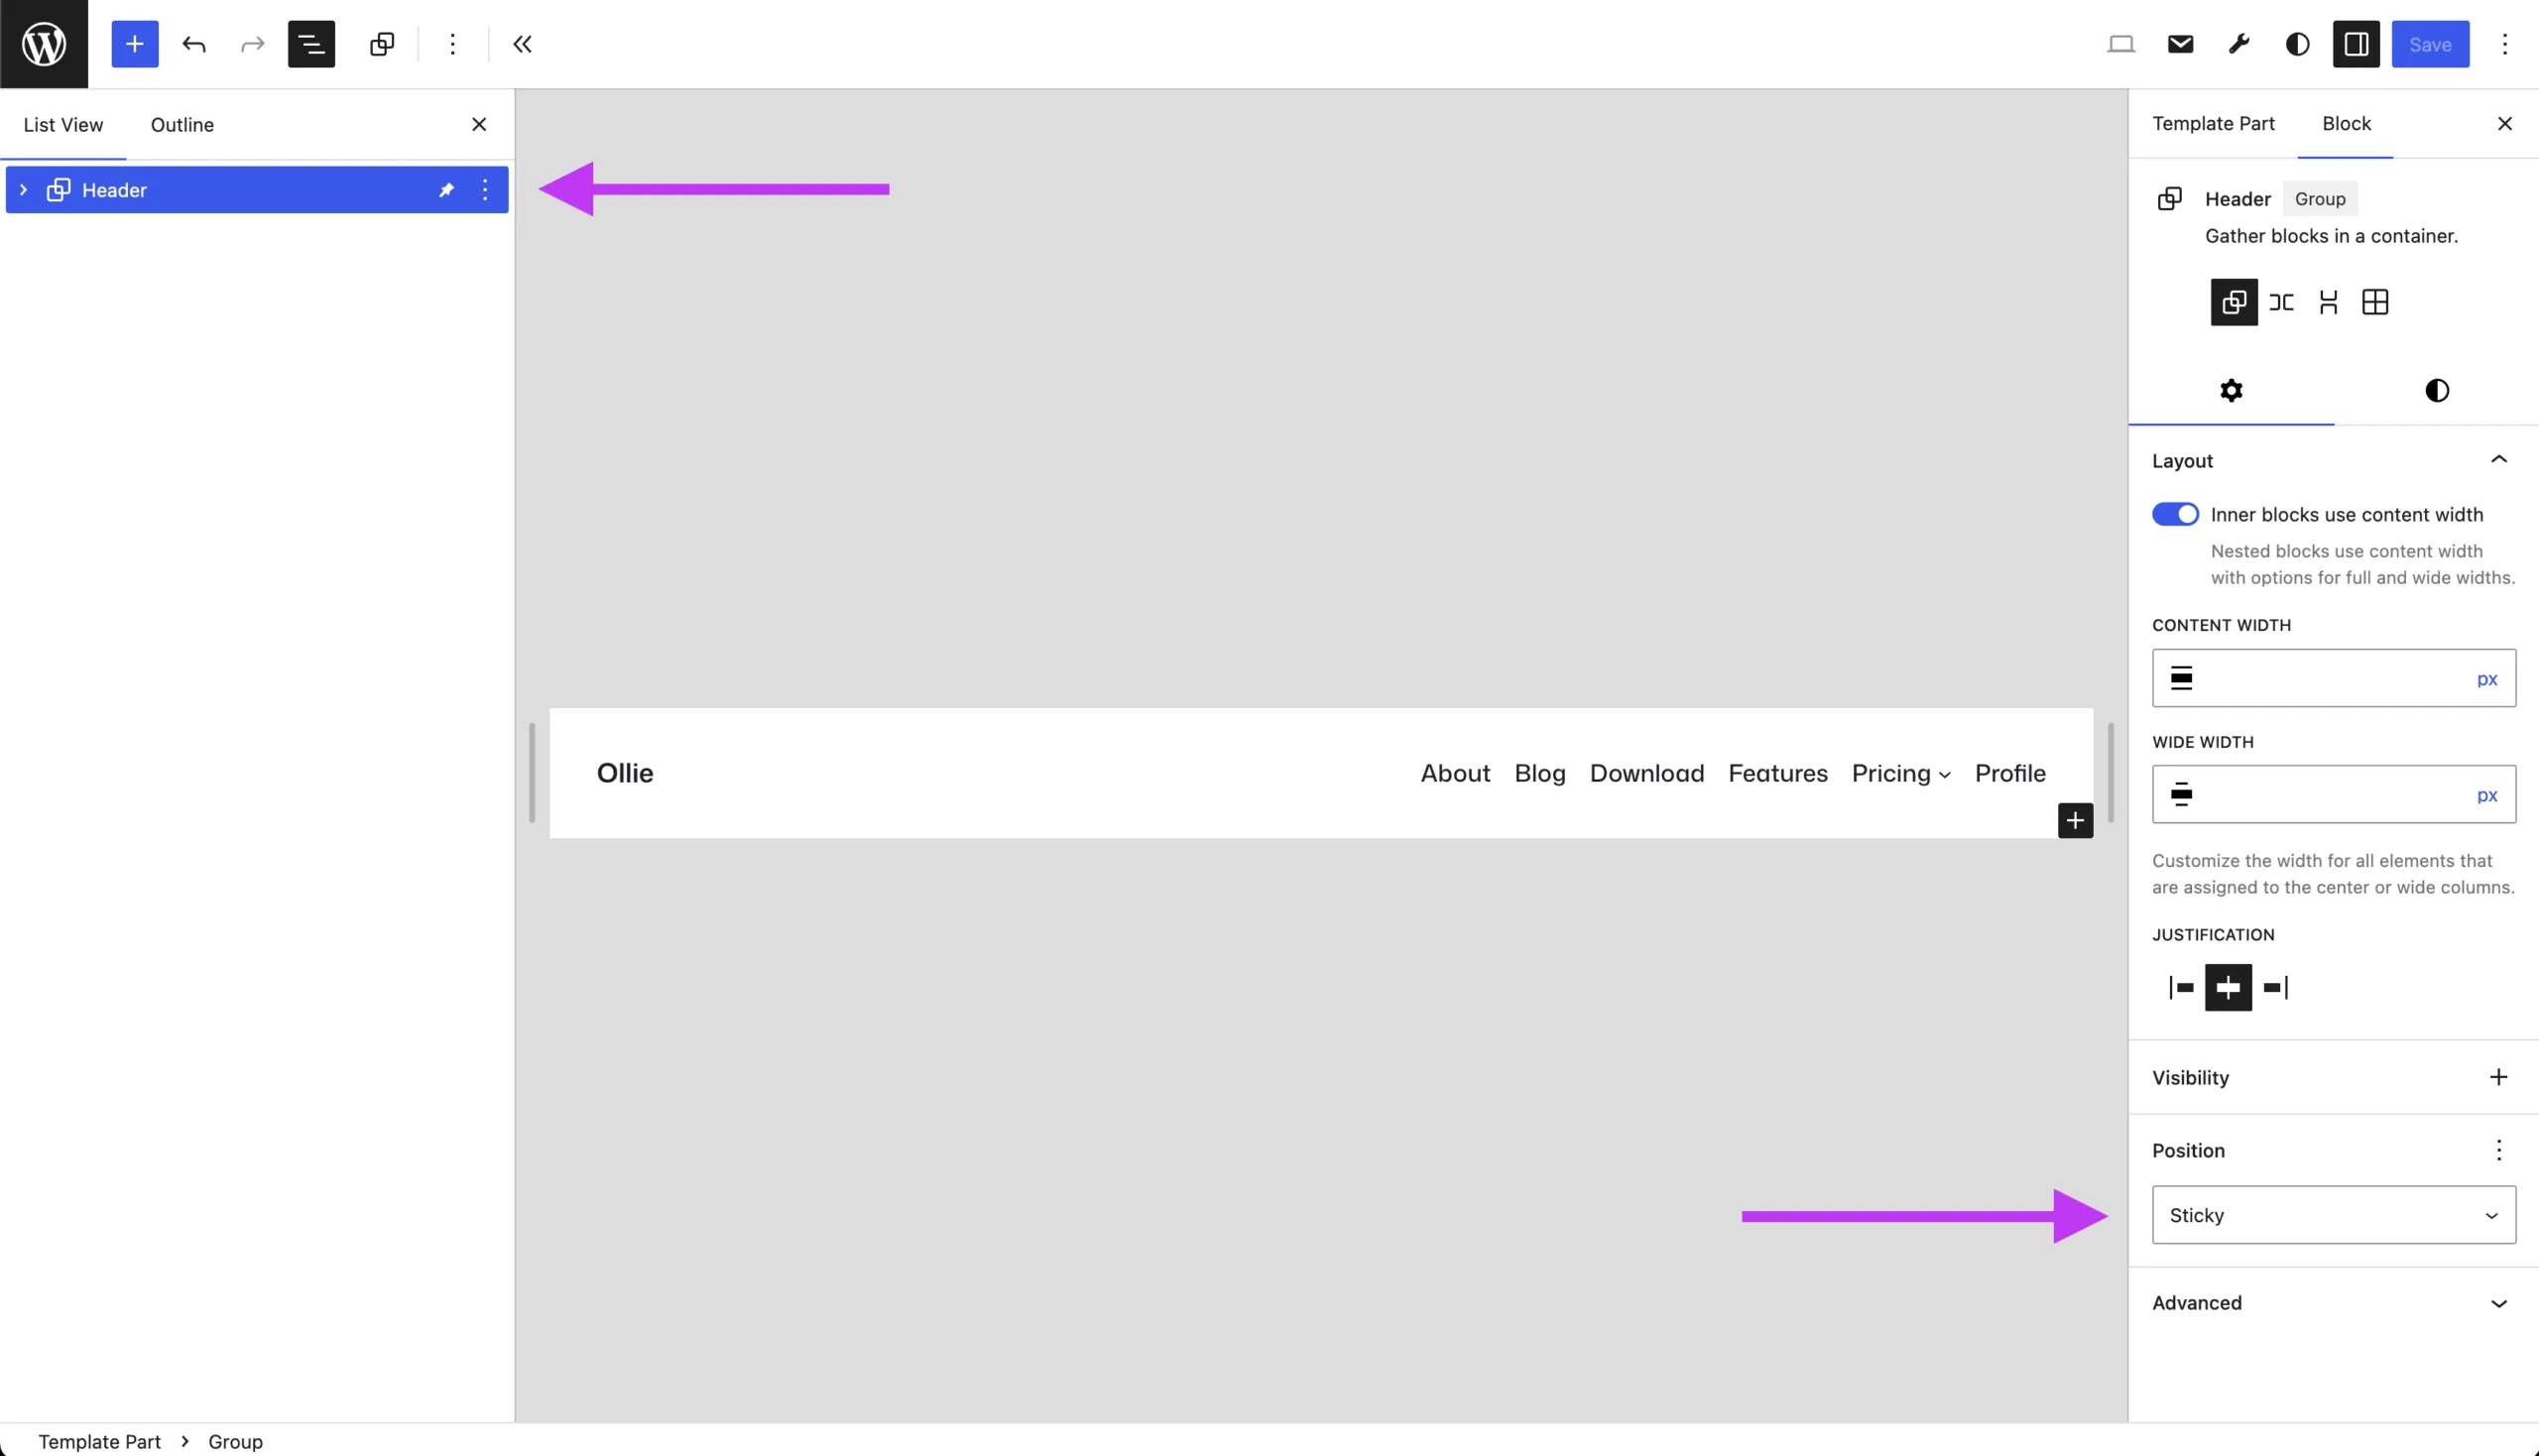
To use it, simply apply the sticky position to whatever group you have inside of your header template part. In the image above, I’ve applied it to the group titled Header.
Wrapping up
That’s all there is to it! Once you understand that template parts create their own containers, sticky headers become much less mysterious. The key is remembering to target the template part wrapper rather than the header content itself.


Leave a Reply