
If you want to learn how to edit the header in WordPress, you’re in the right place.
How you edit the WordPress header depends on the theme you’re using. If you’re using a classic theme, what you edit depends entirely on what your theme’s developer chose to allow. You may find yourself having to edit code for simple changes.
But editing the WordPress header shouldn’t be this complex. In this guide, we’ll show you how to do this the easy way using the Site Editor and the Ollie block theme.
Here’s what we’ll cover:
- What a WordPress header is and what goes into it.
- How classic themes make editing in WordPress more complex than it needs to be.
- How block themes offer an easier way.
- How to edit the header in WordPress using Ollie, step by step.
If you’re interested in editing your WordPress footer as well, read our guide on how to edit the footer to get the whole picture.
What is a WordPress header, and what can you put in it?
A WordPress header is the section that appears at the top of every page of your website. It’s usually one of the first things you’ll want to work on when building your website.
The header typically contains the following elements:
- A site logo. To show your brand. This usually links to your homepage.
- Site title. To display your website or business name. Sometimes this is your logo.
- Navigation menu links. To help visitors find important pages such as About Us, pricing, and contact. You can also use it to link to your products, services, or various resources.
- A search bar. So that visitors who know exactly what they’re looking for can skip browsing and search for it directly.
- Call to action buttons. To encourage visitors to take an important action like signing up, creating an account, or booking a call. This can also include ecommerce buttons like the basket/cart or user login links.
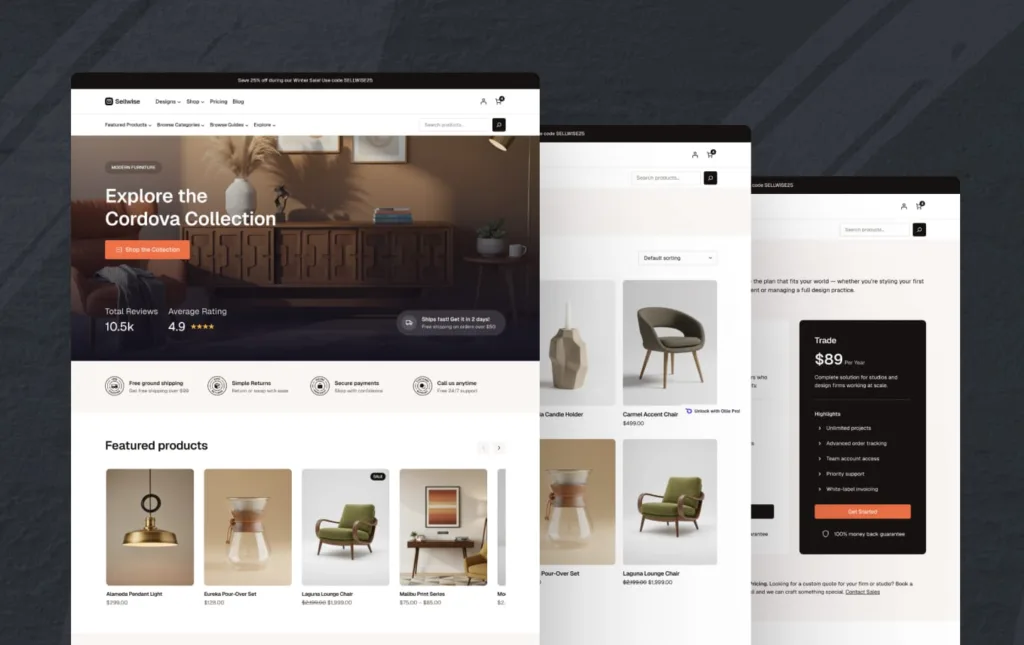
Other elements site owners may add include a language switcher, an announcement bar, or contact information. Generally, what you include depends on what your site needs, what you want to achieve, and what you want visitors to do.
Earlier, we mentioned that how you edit your header depends on the theme you’re using. So let’s look at how WordPress headers work in classic versus block themes.
How WordPress headers work: classic themes vs block themes
Before looking at how headers work differently for these themes, let’s first understand how they differ.
| Classic themes | Block themes | |
|---|---|---|
| What they are | Themes build on traditional PHP templates. | Themes built on modern HTML templates and JSON. |
| The tools you use | Editing is split between the Customizer, Widgets, and Menus screens. | A full site editing (FSE) experience in one place: the site editor. |
| How to make header changes | You may need to manually edit the header.php code if the theme options don’t include what you want. | You can make changes easily by moving blocks directly on the screen. |
| How much editing control | It’s limited to settings or options the theme developer provides. | A full drag-and-drop visual control over every part of the page. |
Depending on the classic theme you’re using, editing the header can be more complex than it needs to be.
The main frustrations
Here are a few frustrations you may run into when editing with classic themes:
- You’re limited to the theme developer options. If the Customizer doesn’t provide the exact header options you want, you may need to write custom CSS code or get help from a developer.
- Different classic themes handle the header differently. What works in one theme like Astra may not work the same way (or even exist) in another classic theme.
- You edit and manage the header on different screens. You may manage your logo and site title under Site Identity in the Customizer, while your navigation menu is in Appearance → Menu and other elements may be managed in the Widgets screen.
- You may need additional plugins or page builders. If the classic theme lacks native header editing capabilities, you may need an extra tool like Elementor Pro
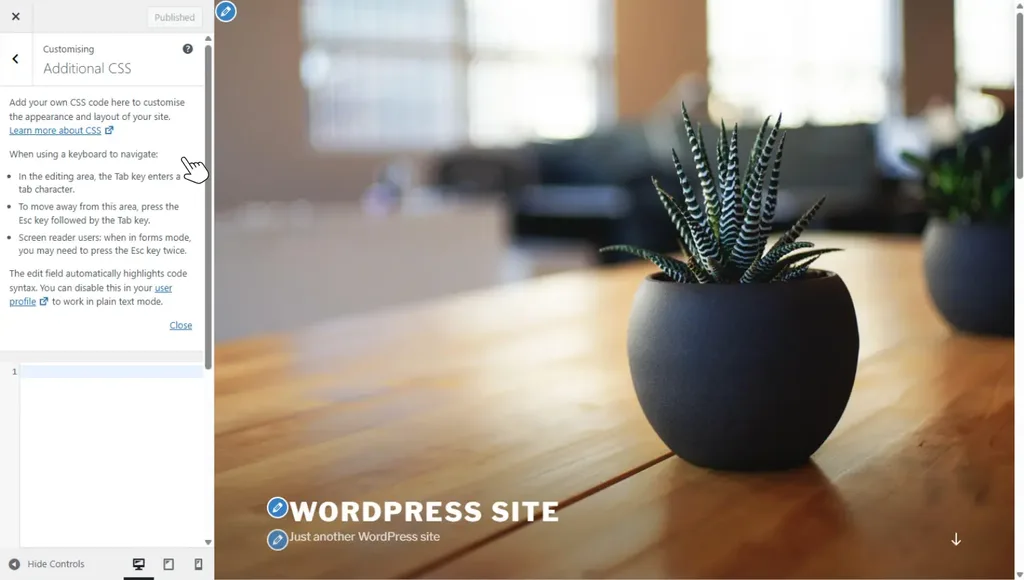
Block themes, on the other hand, allow you to edit your site in the WordPress Site Editor alone. You can visually edit all the key parts of your site, including the header and footer, using blocks.
How block themes make header editing easier
In block themes like Ollie, the header is a template part. The elements you put in the header, such as the logo, navigation menu, search, and buttons, are block elements that you can add in the Site Editor.
Each of these elements is a separate building block you can edit. For example, you can click a block to change its content, move it to a different position, or adjust its settings. You can also add new blocks when you want to include another element in your header template part.
And the best part is that you make these changes directly in the Site Editor and see how your header looks as you build it. You don’t have to search through different theme settings or edit a PHP file for basic header changes.
How the block theme Ollie helps
The Block theme Ollie offers an extensive pattern library with several professionally designed header patterns to start with instead of a blank page. It works well with the WordPress Site Editor. So, you can pick a header design, then drag, drop, and customize various block elements to your liking.
Essentially, with Ollie, you can:
- Edit the header like any other block content. For instance, simply click the site logo to swap it, edit the site title, adjust the navigation block, or change colors and spacing from the block sidebar.
- Easily swap in a new header design from the pattern inserter. Then, remove the old design if you want to replace it.
- Make the design your own by changing the layout, colors, spacing, typography, and other settings to match your site.
- Find extensive block patterns, templates, and template parts to design other key parts of your site. This includes various page designs or sections, such as hero, FAQs, or testimonials.
- Get more customization options for native blocks. Ollie adds features such as a color palette, style variations, and menu patterns. And if you want more design options such as responsive controls, and an animation designer, you can get it by installing the Ollie Pro plugin.
The key difference is that everything in the header is editable. You can add, remove, resize, move, and customize blocks directly in the Site Editor. When you buy Ollie Pro, you also get a setup wizard that helps you get started quickly, including choosing your pages, typography, and other basic site settings.
That said, let’s look at how easy it is to edit the header using the Ollie WordPress block theme.
How to edit the header in WordPress using Ollie (step-by-step)
To follow this guide, install both the free Ollie theme and Ollie Pro. The free version is a standalone block theme that lets you design a website using the native WordPress editor and blocks.
Ollie Pro is a premium WordPress plugin that works on top of the free theme. It adds a cloud pattern library, a setup wizard, starter sites, and extra design tools and editor extensions to help you build and design much faster.
Go to Appearance → Themes → Add Theme from your WordPress dashboard and search for ‘Ollie’ to install the free block theme.
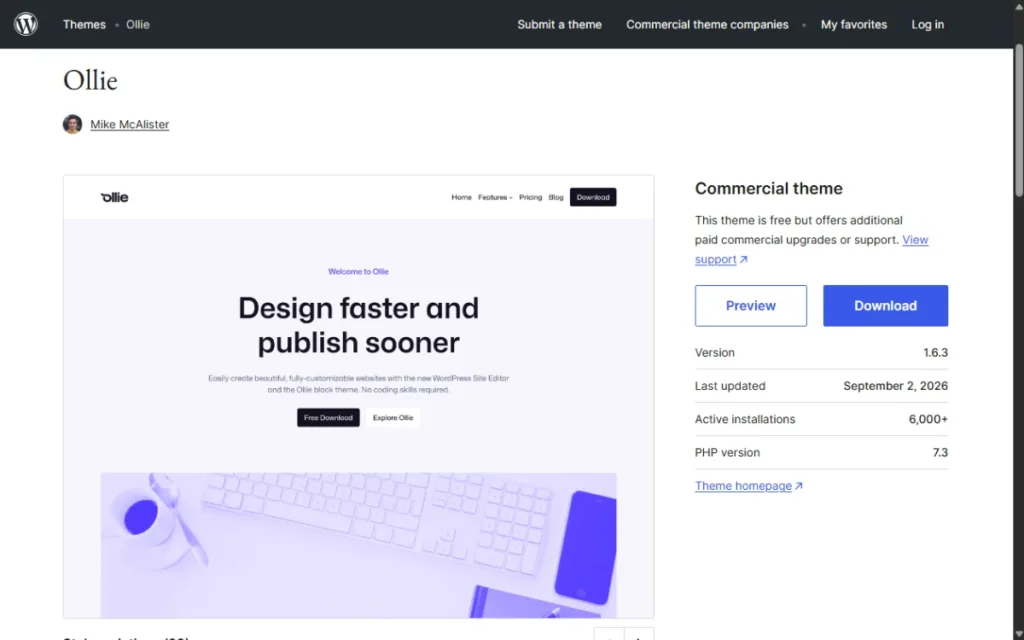
To add Ollie Pro, you can purchase it from the official Ollie website, download the plugin from your account, and then go to Plugins → Add New → Upload Plugin to upload and activate it.
Once both are installed and active, here’s how to edit the header in WordPress.
Step 1: Access the site editor
The first thing you’ll need to do is open up the site editor. You can do this by going to Appearance → Editor from your WordPress dashboard.
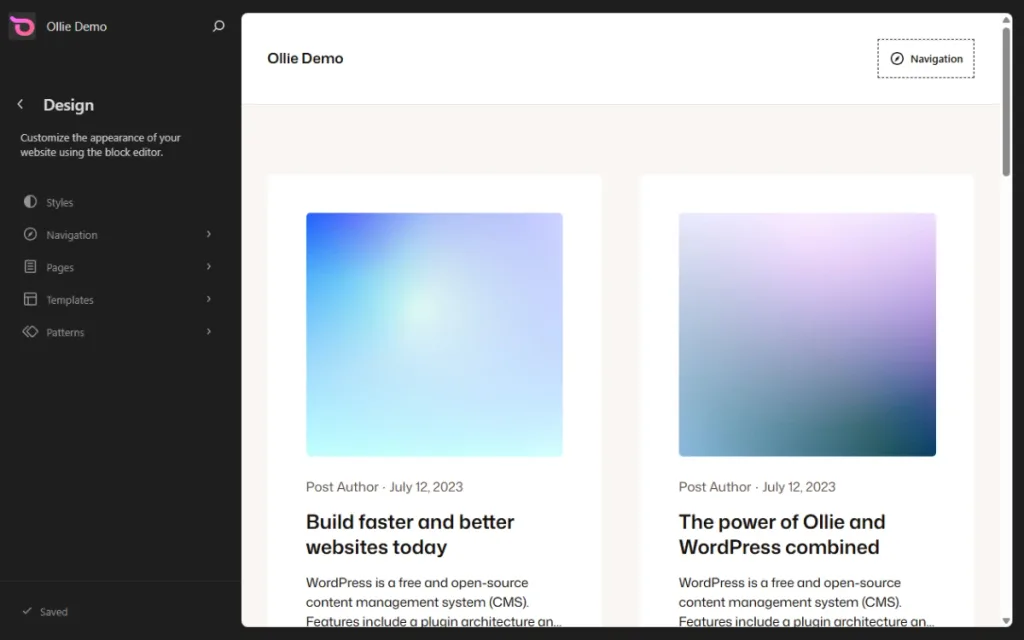
This editor lets you visually edit different parts of a WordPress site, including the header, footer, pages, templates, and styles. Since Ollie is a block theme, you can edit individual header elements, such as text, images, and navigation, using blocks.
Alternatively, if you’re viewing your site while logged in, click Edit Site in the WordPress admin toolbar to open the Site Editor directly.
Step 2: Navigate to the header template part
Now that you’re in the Site Editor, let’s open the header so you can start editing it.
- Head to Patterns → All Template Parts to see the template parts that are available for editing.
- Find your header template part and select it to open it for editing.
- You can also click directly on the header area when previewing your site in the Site Editor to open it for editing.
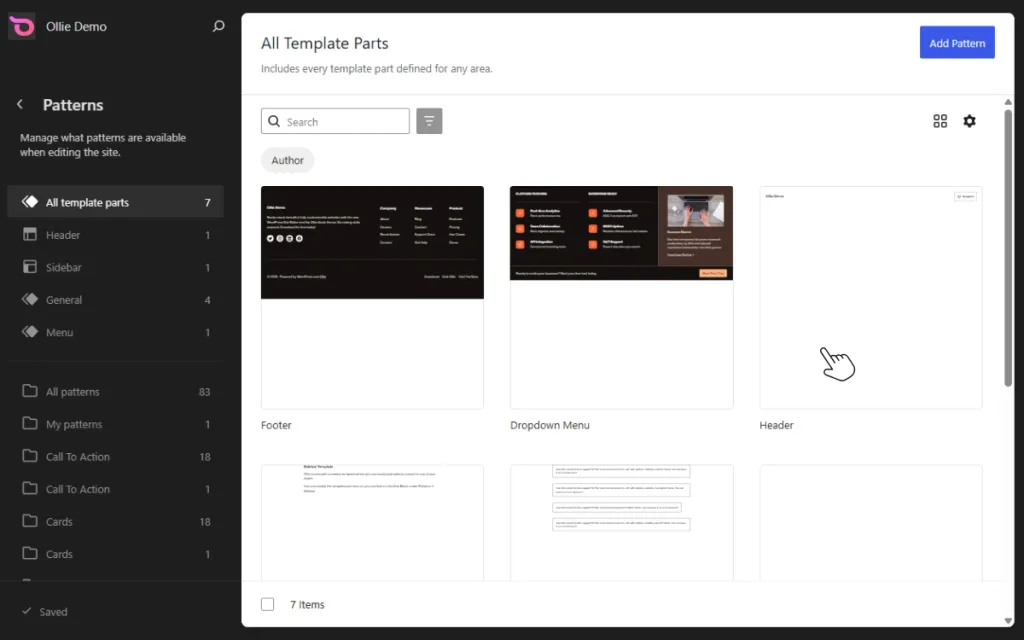
Quick note: Below All Template Parts, you’ll also find patterns from the Ollie pattern library. These include ready-made designs for different parts of your site, such as footers, reviews, pricing sections, and hero sections. You can use these patterns to modify other key parts of your website.
Step 3: Edit the header content
You can edit the header like any other block content to make it your own. You can either modify the existing header by adding, moving, removing, or restyling its blocks, or replace it with a totally new design if you want a new look.
To customize the header block by block:
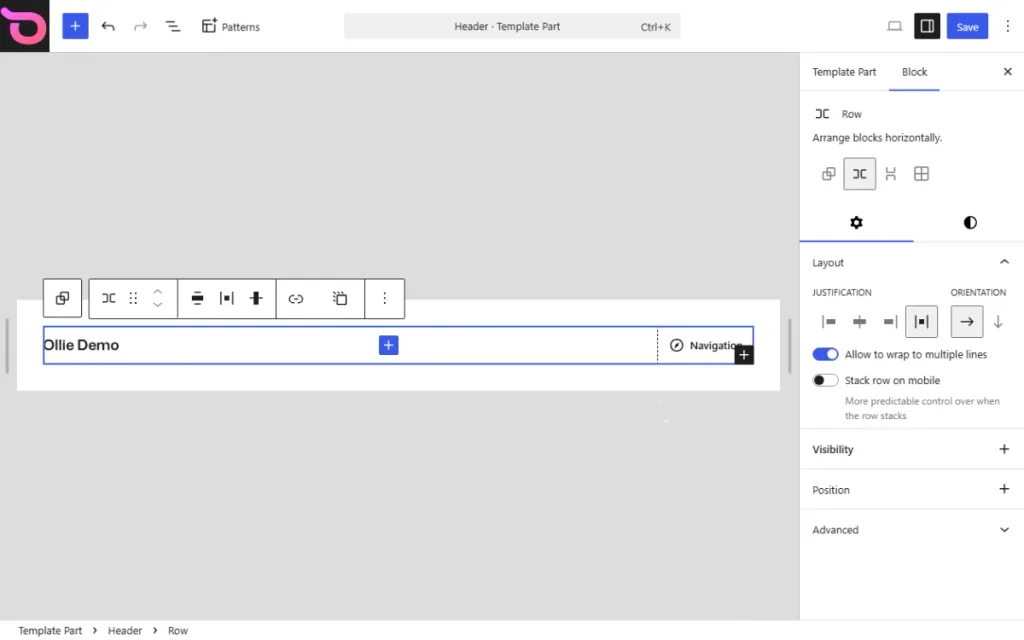
- Click any block to change its content or settings. For example, you can click the Site Logo to replace it, edit the Site Title, or adjust your navigation.
- Add new blocks by clicking the + button on the row block editor or just open the Block Inserter. Then add elements such as CTA buttons, search, contact info, or social icons. What you add depends on what your site needs.
- Move blocks to a desired position. Simply drag blocks to change their position and adjust the header layout.
- Remove blocks from the header by selecting any block you don’t need and deleting it.
Replace the header design completely
If you want a completely different look, you can swap the existing header for a new design instead of rebuilding it block by block.
Take the following steps to swap in a new design:
- Click the Template Part tab on the right.
- Scroll down to the Design section and click on each design below this section to see what they’ll look like.
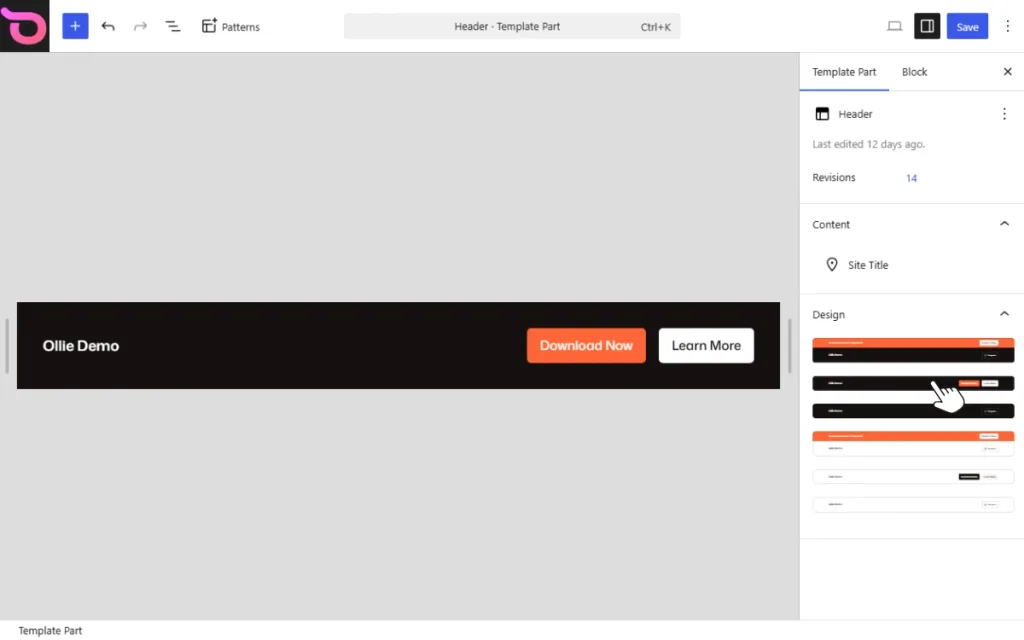
You can then customize the new header just like any other block content.
Use the Menu Designer to build better navigation
What if you want navigation with dropdown menus or mobile-friendly menus?
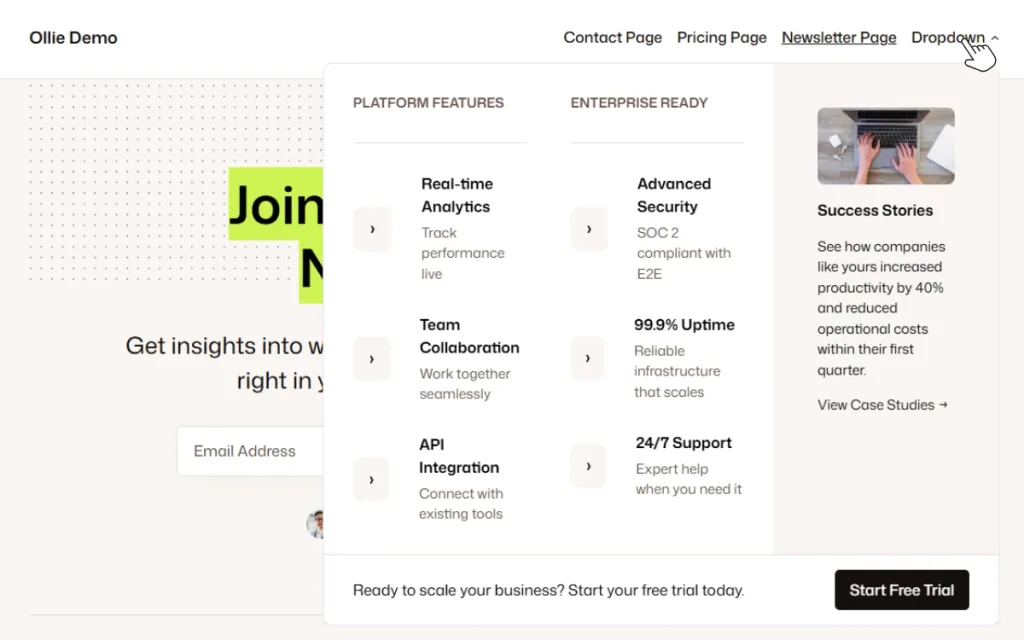
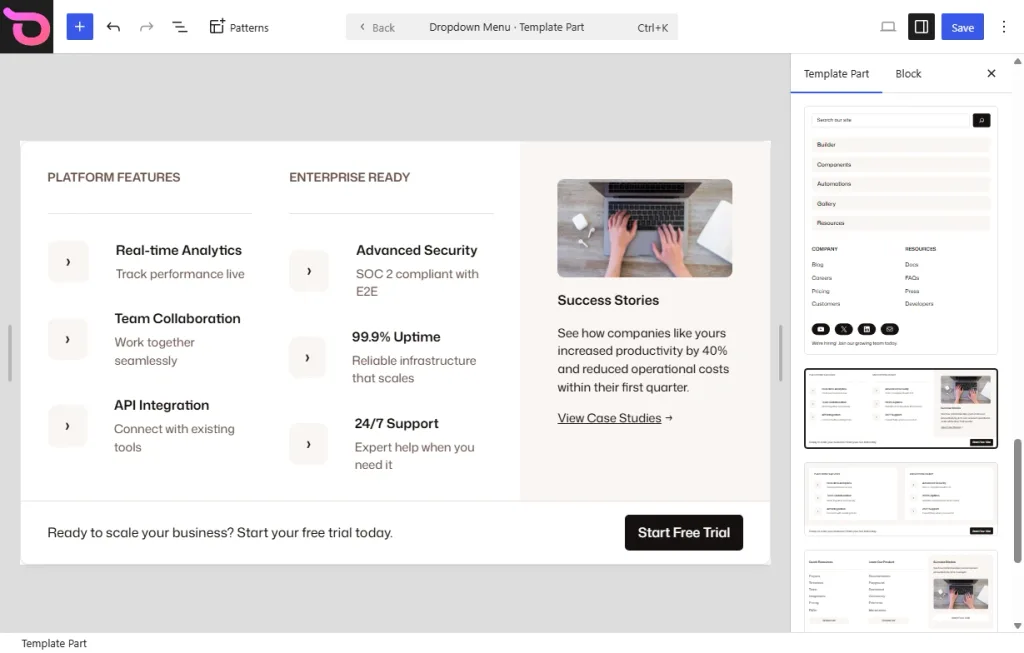
With Ollie’s Menu Designer, you can design dropdown menus, mega menus, and mobile menus using blocks. You can add images, buttons, columns, forms, product grids, or any other block to these menus, then style everything in the same block editor you use for the rest of your site. These menus are also saved as template parts, so you can reuse them or copy the design between sites.
To build a dropdown menu, follow these steps:
- Open the header template part you’re working on and select the Navigation block.
- Inside the Navigation block, add another link to your menu and add a Dropdown Menu block.
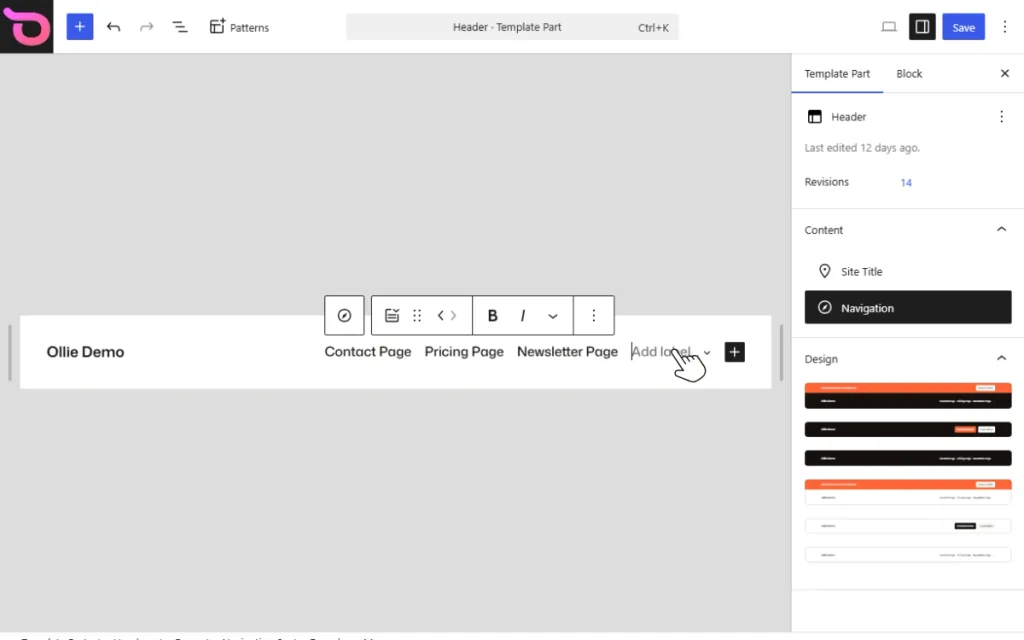
- Next, open the block’s Settings panel and choose an existing dropdown design or select Create a new one.
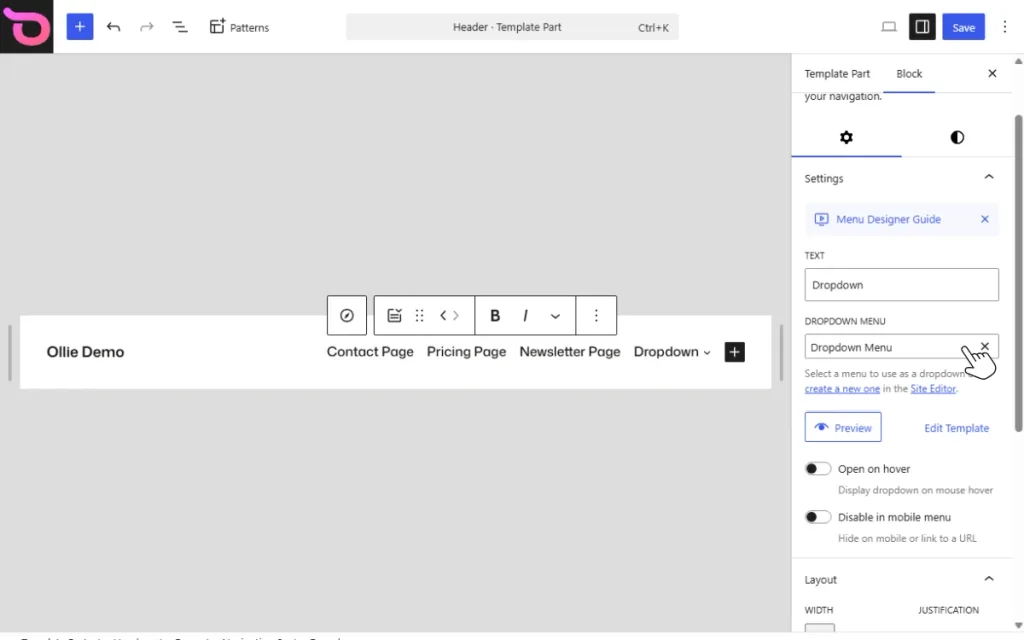
- Choose a pre-designed menu pattern or start with a blank design. You can then add blocks such as images, buttons, columns, and calls to action to build the menu you want.
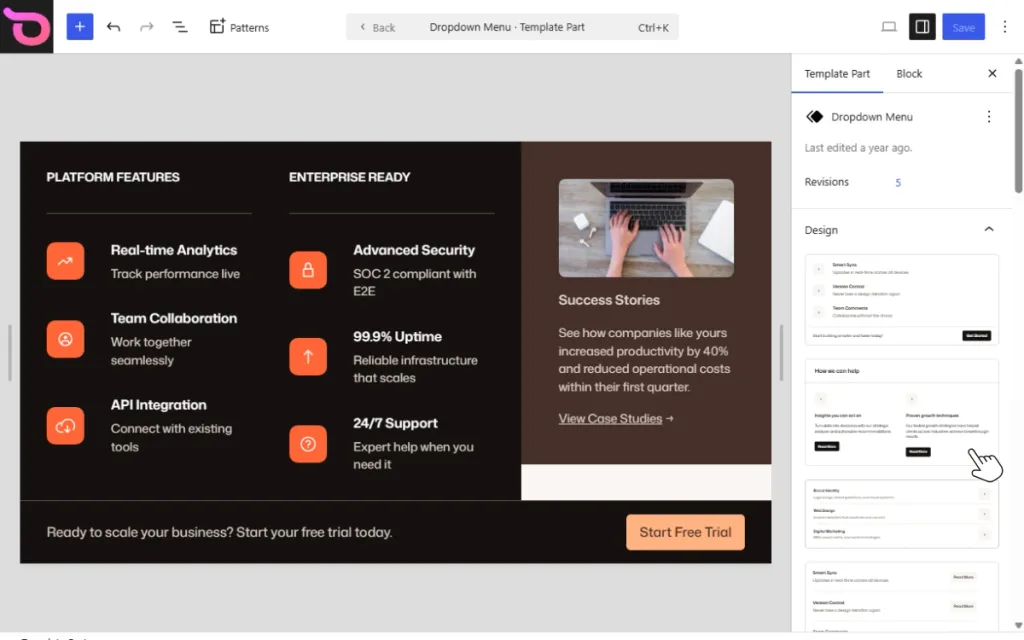
- Save the menu, then adjust options such as:
- Width: Choose content, wide, full, or set a custom width in pixels. A full-width menu works well for a mega menu.
- Justification: To align the menu to the left, center, or right.
- Top spacing: To set the gap between your navigation and the opened menu.
- Open on hover: To make the menu open when visitors hover over the menu item instead of clicking it.
To design a mobile menu, select the Navigation block and open the Mobile Menu settings. Then choose an existing design or create a new one. You can then build the mobile menu with blocks such as large navigation links, a search bar, social icons, and a CTA button.
For more details, read the Ollie menu designer guide.
Step 4: Change header styles
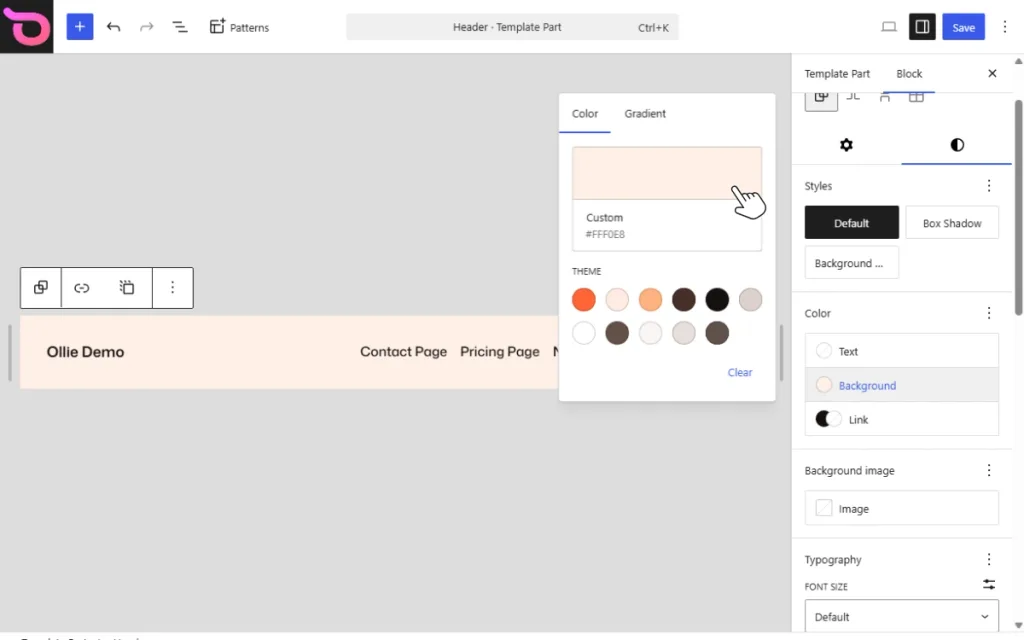
Once your header content is in place, you can adjust its layout and appearance to match your site’s design. The styling options available depend on the block you select.
Let’s look at an example:
- Click the block you want to customize.
- Once you select it, you’ll see quick styling controls above the block. Depending on the block, you can use these to adjust its alignment, layout, or other settings.
- Use the settings in the right-hand sidebar to make more detailed changes to the block.
- For example, when editing the header layout, you can choose to:
- Change the background and text colors.
- Adjust the spacing between elements.
- Change the width or the alignment.
- Adjust the typography and other available styles.
You can also use Global Styles to control site-wide settings. Click the Styles icon (the half-moon circle) in the top bar to open Ollie’s Global Styles. From there, you can choose style variations, manage the color palette, set typography and layouts, and style a block type globally. Changes made here can affect the whole site, while block-level changes only affect the specific block you’re editing.
Step 5: Save changes
Once you’re happy with your header, it’s time to save your changes.
- Click Save in the top-right corner of the Site Editor.
- Make sure the Header template part is selected, then save your changes.
Because the header is a shared template part, your changes will automatically appear everywhere that header is used across your site. You don’t need to edit the header on each page separately.
Important note about sticky headers: You can make your header stick to the top of the screen by selecting its Group block and changing its Position setting to Sticky. See the Advanced Group Controls guide for more information.
Start customizing your WordPress header with Ollie
Customizing the WordPress header can either be easy or confusing depending on the theme you use. The right theme gives you more control over the header layout, navigation, colors, spacing, and other elements without relying on custom code or extra WordPress plugins.
Block themes like Ollie make the whole editing process straightforward and visual. You can edit the header directly in the WordPress Site Editor using blocks. Plus, you get professionally designed header patterns to start customizing your site instead of starting with a blank page.
Download the free Ollie theme today and start customizing your WordPress header the easy way. For additional design options, patterns, and features, explore Ollie Pro.
